
Having a healthy RV roof is key to keeping your rig ready for the road. Regular cleaning and maintenance is necessary to ensure that everything stays in tip-top shape, but there may come a time when your roof needs a little more than a good scrub. Cracks, scratches, and holes in RV roofing aren’t uncommon problems, and you’ll likely come across them at one point or another. Fortunately, there is some RV roof repair you can do yourself.
Before you head off to the dealer for repairs, check to see if it’s something you can complete on your own. Many repairs are relatively simple and can be achieved with supplies purchased at an RV retailer or a home improvement store. If you have a DIY RV roof repair project, keep reading. We have some helpful RV repair tips on completing some of the most common RV roof fixes.
In this guide, we discuss how to:
- clean an RV roof
- reseal an RV roof
- repair an RV roof
- replace an RV roof
Let’s get started!
How to do a DIY RV roof repair
How you approach your repair project will largely depend on one thing: the material that your roof is made of. Because of this, we’ve broken down the process by construction material.
Step one? A good cleaning
The first step to any roof repair will be the same across all materials. Always be sure to first thoroughly clean the area to remove any debris or grime that may prevent repair materials from properly adhering to the surfaces.
Never use petroleum-based cleaners, harsh abrasives, or citrus-based acidic cleaners. These can break down the roofing material, weakening it over time. There are special cleaners for RV roofs and each type of material.
If working with a large area, it’s also recommended that you tape off and cover the rest of your RV with plastic so that roofing cleaners or sealants don’t drip down the sides. If you forgo this step, make sure to rinse any drippings off with water immediately.
Now let’s get into the specifics of RV roof repair by material. We’ll cover how to repair a:
- rubber RV roof
- fiberglass RV roof
- aluminum RV roof
How to repair rubber RV roof
There are three main types of repairs that you may come across: applying a sealant to the roof, resealing joints, and patching holes and tears.
Applying sealant to the roof
If your EPDM or TPO rubber roof is looking chalky or flaky, it’s likely due for a fresh coat of sealant. Over time, the top layer protective coating breaks down, leaving your roof more susceptible to leaks and UV damage.
Reapplying sealant isn’t too difficult. When purchasing the rubber roof coating or sealant, be sure to have your RV measurements in mind so you get the right amount. After cleaning the entire roof and letting it dry, you can coat the roof with a roller, much like you would with paint.
Be sure to read and follow the proper prep instructions detailed on the sealant container.

Resealing joints
More often, RV owners have issues with leaks around edges or joints rather than through the membrane itself. Antennas, screws, vents, A/C units, and other rooftop protrusions have sealed seams that are prone to cracking and peeling, allowing water to seep in.
Joint reseals can be done with a tube of self-leveling sealants. Simply follow the prep instructions on the bottle, and caulk around the joints. Even if there is no obvious damage, resealing joints periodically is one of the best ways to prevent leaks from happening.

Patching a hole or tear
If you find a small puncture or tear on your RV roof, it will need to be fixed with a patch. Luckily, manufacturers have made patches and RV roof tapes that are easy to apply and are a durable fix.
With most patches, you’ll simply clean the area and place the patch over the affected area, much like a band-aid. Use a small roller to work out any air bubbles and to ensure adhesion, and you’re good as new.
Replacing an RV rubber roof
In some cases, the entire roof may need to be replaced. For most, this is a job best left to the professionals, but the process is usually broken down into five steps.
- First, take off all of the rooftop objects like the A/C, vents, etc.
- Remove the old rubber membrane and sub-roof sheeting from the roof.
- Place a new rubber membrane and sheeting that goes under the rubber.
- Reinstall the rooftop objects.
- Apply sealant to all of the seams and joints.
If you choose to do this on your own, you’ll want to seek the advice of a professional who will know your particular rig and can offer specific guidance.
How to repair fiberglass RV roof
Some RVs come with fiberglass roofs. The way you’ll approach these repairs are slightly different than those of rubber roofs, especially when it comes to the supplies that you need.
Resealing fiberglass roofs
Similar to rubber roofs, the top coating on fiberglass roofs can oxidize over time, causing a flaky, chalky look. Before cleaning, scrape off any loose, curled pieces of the coating off. After that, rub fine to medium-grit sandpaper over the surface of the roof. A slightly abraded surface will allow the coating to adhere. Rinse again, and then apply the liquid sealant to the roof with a paintbrush or roller.
For sealing seams, apply a self-leveling sealant designed for fiberglass around joints as you would with a rubber roof.
Patching a hole or tear
In an emergency, you can fix a hole or tear in a fiberglass roof with a quick fiberglass repair patch. For a more permanent, sturdy fix, a little more work is needed.
You’ll first need to sand down the damaged area until the damaged or frayed material is smooth. Make sure to wear the appropriate safety mask, goggles, and gloves, as fiberglass can irritate the lungs, eyes, and skin. Once the area is smooth and clean, you’ll apply fiberglass patches and resin, layer by layer, according to the repair kit instructions.
Finish the job with some sealant, and refinish the area as needed.
How to repair aluminum RV roof
Have a metal roof on your RV? Here’s how to seal and repair their punctures.
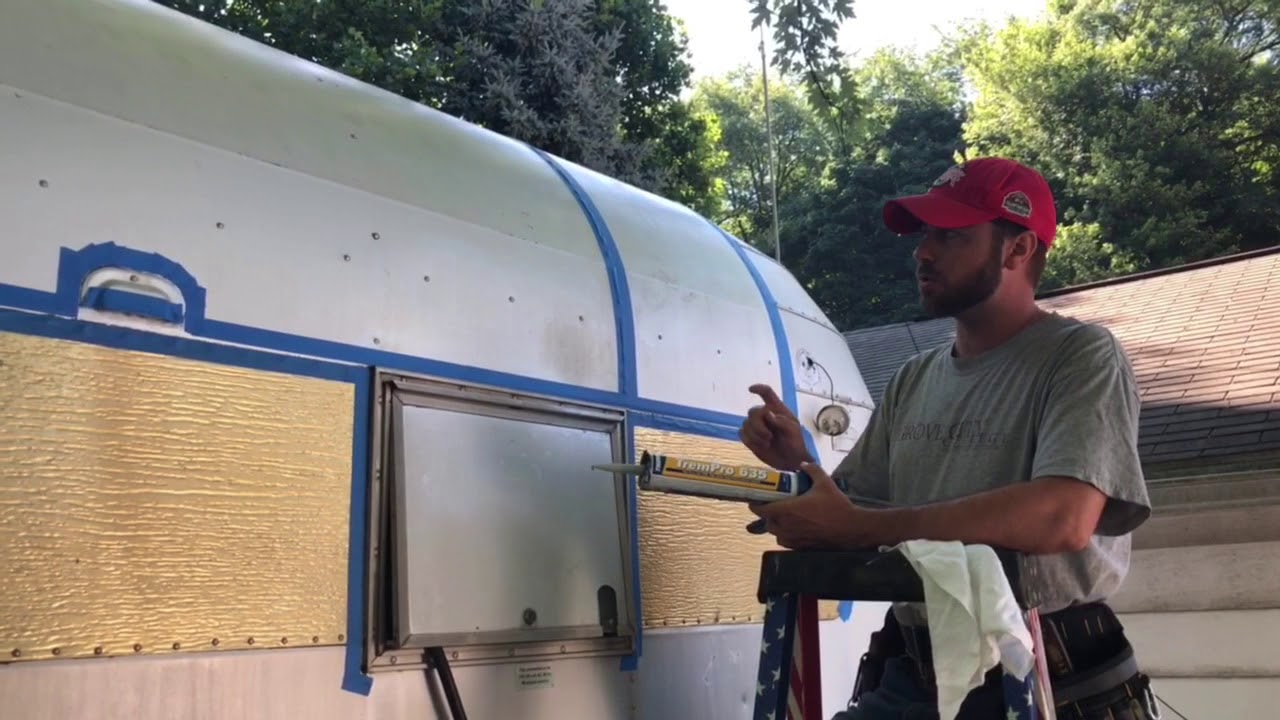
Resealing aluminum RV roofs
For aluminum and other metal RV roofs, resealing is done with a special coating designed for the material, such as Dicor’s Metal RV roof coating. This forms a rubber-like top layer and is resistant to mildew and rust.
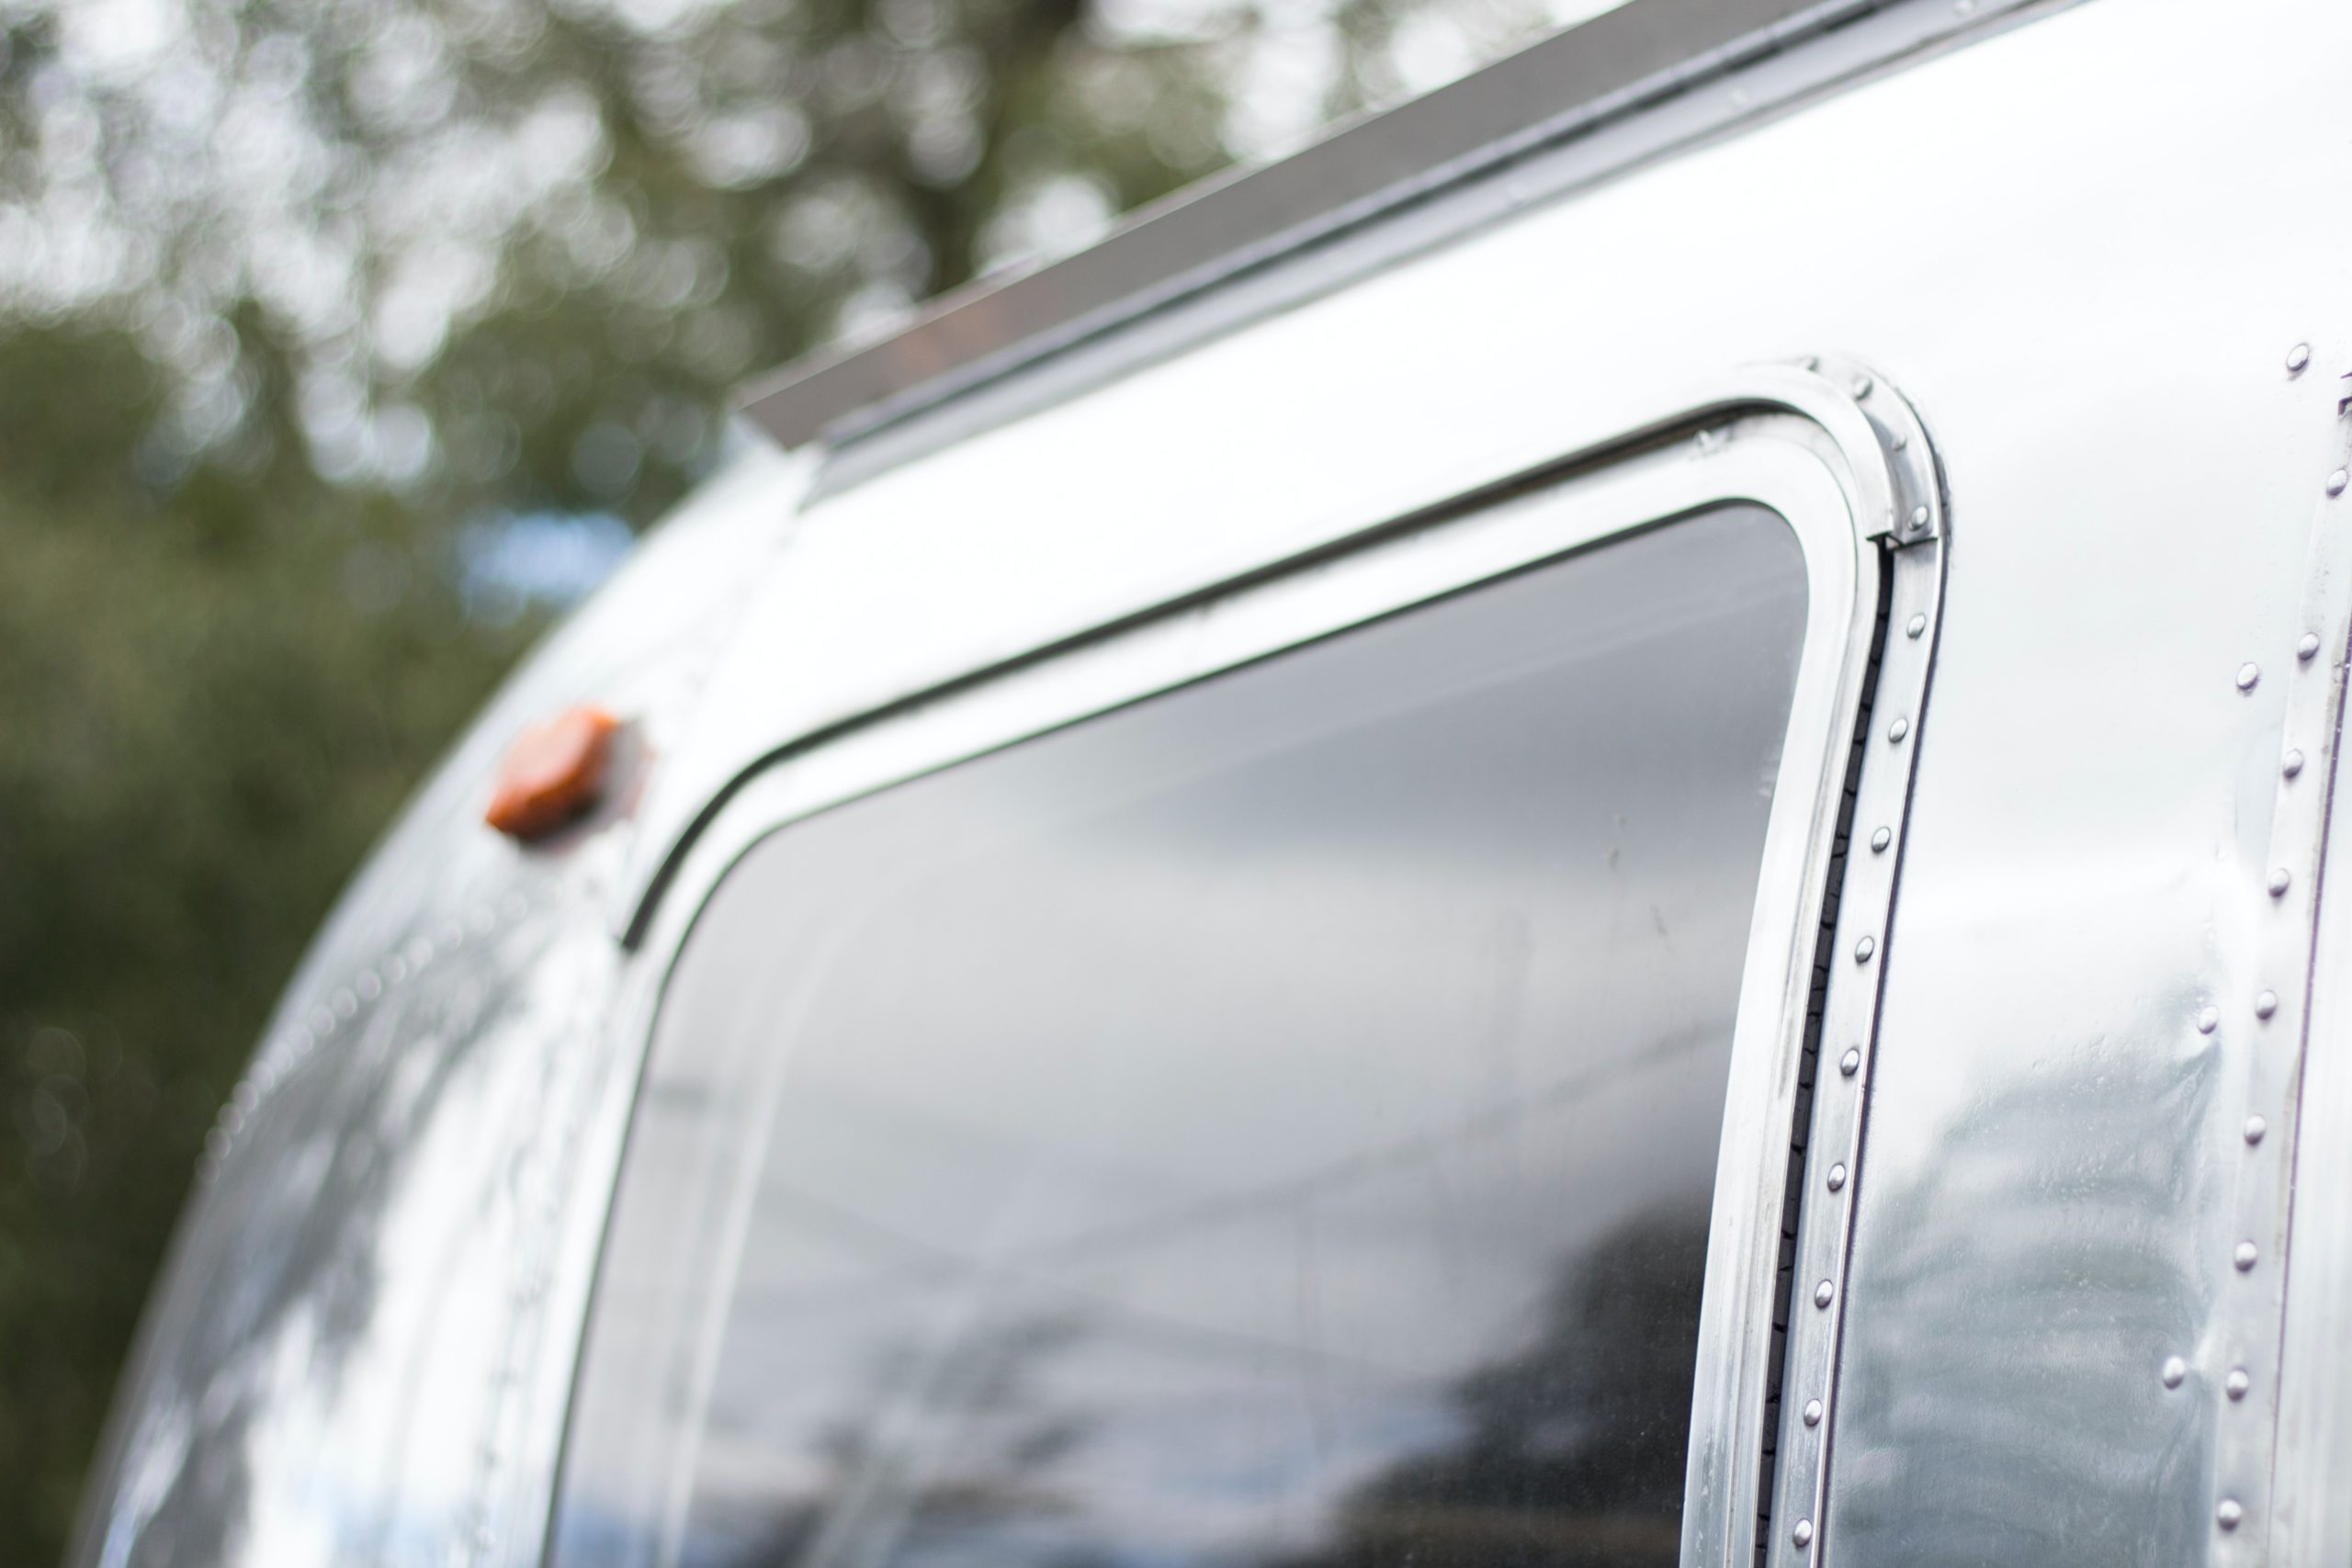
Of course, you wouldn’t apply a thick white coating to a rounded metal RV like an Airstream. For these (and all RVs for that matter), sealing joints and rivets with a caulking gun is essential.
Repairing punctures or tears
Depending on the size of the puncture, you may be able to temporarily repair your metal roof with a peel and stick patch. Make sure to buy one that is designed for metal roofs, as the adhesive formula is a little different. Simply clean the area, stick the patch over it, and roll out air bubbles with a small roller.
For more significant damage, the best way to repair a metal roof is by replacing the metal panel, which is a process that will vary depending on your particular RV.
Always read instructions
You’ll always want to be sure you thoroughly read any instructions for any repair materials you buy. Some may call for specific cleaners, wipe downs with denatured alcohol, or special primers. Some manufacturers’ instructions may differ slightly from the processes outlined here. In those cases, follow what is written by the manufacturer.
Be sure to plan your repairs during a time where weather conditions will be optimal. Some sealants need to sit for 24-48 hours before being subjected to elements like rain.
When to hire a professional for an RV roof repair
If you aren’t confident in your ability to repair a specific problem, don’t hesitate to call a professional or RV dealership. They will be able to give you more guidance on whether or not it’s a job for a pro or what additional supplies you may need.
Hit the road
Now that your roof is like new, you can hit the road without worrying about springing a leak! Always keep an eye on repairs to see how they are holding up and address any areas of concern immediately.
And if you’re on the road and need some help with your RV repairs, hire a mobile RV repair service!